Guide8 min read
Rat Cage Cleaning Guide UK: Daily, Weekly and Deep Clean Routine
Helpful next step
If this guide is helping you plan a cage or routine, keep the advice open and compare the pieces that make it easier to act on.
Quick read: To keep a rat cage easy to clean without stripping it bare, spot-clean every day: take out wet bedding and leftover food, and check under hides where rats often toilet. On a full clean, keep back some clean, unsoiled nesting material so the cage still smells like home.
Build the cleaning routine around what you find in the cage: wet bedding, leftover food, dirty drinking equipment and surfaces that need attention. A calendar is a reminder to check, not a reason to leave something wet or dirty until a particular day.
Updated September 2026. This guide covers household care routines. Breathing changes, unusual droppings or other health concerns need veterinary advice; cleaning cannot diagnose or treat them.
In this guide:
- Keep the cage clean and familiar
- Daily checks
- A regular full clean
- Deeper inspection
- Choosing cleaning products
- Products and practices to avoid
- Ammonia and ventilation
- Adjusting for bedding and fabric
- Troubleshooting
- Sources and further help
Keep the cage clean and familiar
Remove soiled material rather than trying to cover its smell. At the same time, rats use familiar scent in their environment. The RSPCA recommends retaining some clean, unsoiled nesting material during cleaning. This is not an instruction to keep urine-soaked bedding, nor does it require a fixed percentage.
If a vet has given you a specific hygiene routine for illness, parasites or infection control, follow that advice instead of the general scent-preservation suggestion. Keep the cleaning kit together so that replacing a wet patch or washing a bowl is easy to do when needed.
Daily checks
- Check bedding and resting places. Remove wet or soiled material and replace it. Look under hides, beneath water bottles and in the places your rats use as toilets.
- Remove leftover fresh food. Check hidden food stores as well as bowls, and wash dirty feeding equipment.
- Check drinking equipment. Provide fresh water and check that bottles or bowls are clean and accessible. Confirm that a bottle spout works and that it is not leaking into the bedding.
- Inspect shelves and fittings. Wipe urine or food residue from suitable surfaces using the item's care instructions. Check for loose fittings, sharp edges and damaged fabric.
- Notice changes. Record anything unusual in your rats' behaviour, breathing, droppings or use of the cage. Contact a vet about health concerns.
The time needed depends on the enclosure and what you find. Wash a dirty hammock or replace wet bedding when needed; do not wait for the weekly reminder.
A regular full clean
Use a weekly reminder as a starting point for reviewing the whole cage, then adjust the work to its condition, the number of rats, the bedding and any veterinary instructions. PDSA's rat-care guidance explains routine cleaning and retaining a little used but clean bedding.
- Prepare a secure temporary space. Move your rats safely before using cleaning products or taking the cage apart. Keep them away from cleaning liquids and wet equipment.
- Remove and sort accessories. Separate items that need washing, items that need repair or replacement, and clean material suitable for retaining familiar scent.
- Remove waste and dirty bedding. Check the base, corners and areas beneath accessories. Do not reintroduce soiled material as a scent marker.
- Clean surfaces and accessories. Follow both the cage or accessory care instructions and the cleaner's label. Use separate methods for fabric, coated metal, plastic and other materials where required.
- Rinse and dry as directed. Complete the product's required contact time, rinsing and drying steps. Keep rats out until the enclosure is ready for animals to return.
- Reassemble and check. Add suitable clean bedding, secure fittings, replace food and water, and check access to each level and resting place before returning your rats.
For textiles, follow the fabric's washing instructions and avoid strongly fragranced laundry products. Check seams, loops and worn areas before reuse. A clean item should also remain physically suitable for the cage.
Deeper inspection
A monthly reminder can help you inspect places missed during ordinary cleaning, but deal with visible buildup or damage sooner. Look at joints, tray edges, bottle holders, the undersides of shelves and the interiors of tunnels.
- Disassemble only parts designed to be removed, keeping track of their fittings.
- Follow the manufacturer's method for deposits and stains; do not assume an acid, abrasive or long soak is compatible with a coating.
- Check for rust, cracks, sharp edges and damage from chewing. Remove a damaged item from use while you establish a suitable next step.
- Replace an accessory that cannot be cleaned or used safely. Confirm that every part is dry and secure before reassembly.
Choosing cleaning products
Choose a product whose instructions cover the intended animal-housing use and surface. If that is unclear, check with the manufacturer or your vet. A general “pet-safe” description alone does not tell you the dilution, contact time or return-to-cage conditions.
| Task | What to check |
|---|---|
| Removing ordinary surface dirt | The surface's care instructions and whether water or a suitable cleaner is needed. |
| Disinfection when needed | The exact product, intended use, dilution, contact time, rinsing and drying instructions. Do not copy a dilution from another product. |
| Washing fabric | The textile's care label, detergent suitability, thorough drying and condition of seams and fibres. |
| Cleaning a painted or coated accessory | Its product-specific care advice. Stop if the coating softens, lifts or changes. |
Do not treat vinegar, bicarbonate of soda or an ordinary detergent as a substitute for a required disinfectant. This guide does not prescribe a universal chemical recipe.
Products and practices to avoid
- Do not mix cleaning chemicals or add another product to a prepared dilution.
- Do not spray cleaners or fragrances towards rats, their food or drinking water.
- Do not mask cage odour with air fresheners. Find and remove the source of contamination.
- Do not use a cleaner against its label or on an incompatible surface.
- Do not return rats before the required contact, rinsing, ventilation and drying steps are complete.
Ammonia and ventilation
Urine contains urea. Bacteria break urea down into ammonia (NH3). Ammonia is lighter than air (relative gas density 0.60, according to CDC/NIOSH), but cage concentrations depend on the urine source, contaminated material, ventilation and cleaning. A higher shelf is not a safe zone.
Do not use smell, shelf height or a universal ppm rule as a substitute for good ventilation, regular cleaning and observing your rats. If you notice breathing changes or other health concerns, contact a vet.
Check for leaking bottles, damp material hidden beneath accessories and restricted airflow. Do not put your face into a cage to perform a smell test, and do not wait for a noticeable odour before removing wet bedding.
Adjusting for bedding and fabric
Use the condition of the material to decide what needs replacing. A brand name or bedding category does not guarantee a particular number of clean days.
| Material or location | Useful checks |
|---|---|
| Loose bedding | Check toilet areas, beneath hides and around water sources. Remove wet or soiled patches and use suitable replacement material. |
| Fleece and other liners | Check the surface and any absorbent layer beneath it. Wash when soiled and dry fully before reuse. |
| Hammocks and fabric hides | Check inside folds as well as the visible surface. Inspect for damage after washing. |
| Nesting material | Retain only clean, unsoiled material when preserving familiar scent, unless a specific hygiene plan says otherwise. |
Troubleshooting
The cage still smells after cleaning
Check hidden damp bedding, fabric, the underside of shelves and leaking water equipment. Review the cleaner's instructions and the cage's ventilation. Do not assume another chemical or a stronger dilution is the answer.
One corner becomes wet quickly
Check whether it is a toilet area or a water leak. An accessible litter tray may make a toilet area easier to service, but it still needs regular checking and cleaning.
A hammock remains dirty or smells after washing
Check its care instructions and condition. Remove it from use if it cannot be cleaned adequately or is damaged; do not leave it in the cage just to retain scent.
The routine is hard to maintain
Keep supplies together and use reminders for daily checks, a regular full review and deeper inspection. Change awkward cage arrangements where doing so improves access without compromising your rats' use of the space.
Sources and further help
- RSPCA: creating a good home for rats
- PDSA: rats as pets
- CDC/NIOSH: ammonia properties — chemical-property reference, not a rat-care exposure limit.
Use the Rat Cage Cleaning Planner to organise your routine, and the health monitoring guide to record observations. For breathing concerns, see the respiratory guide and contact a vet. You can also return to rat enrichment ideas.
RAT CARE
Choose the next cage piece
If the guide helped, head to the practical range next. Start with the hub, then compare hides, shelves and foraging pieces by the problem you are trying to solve.
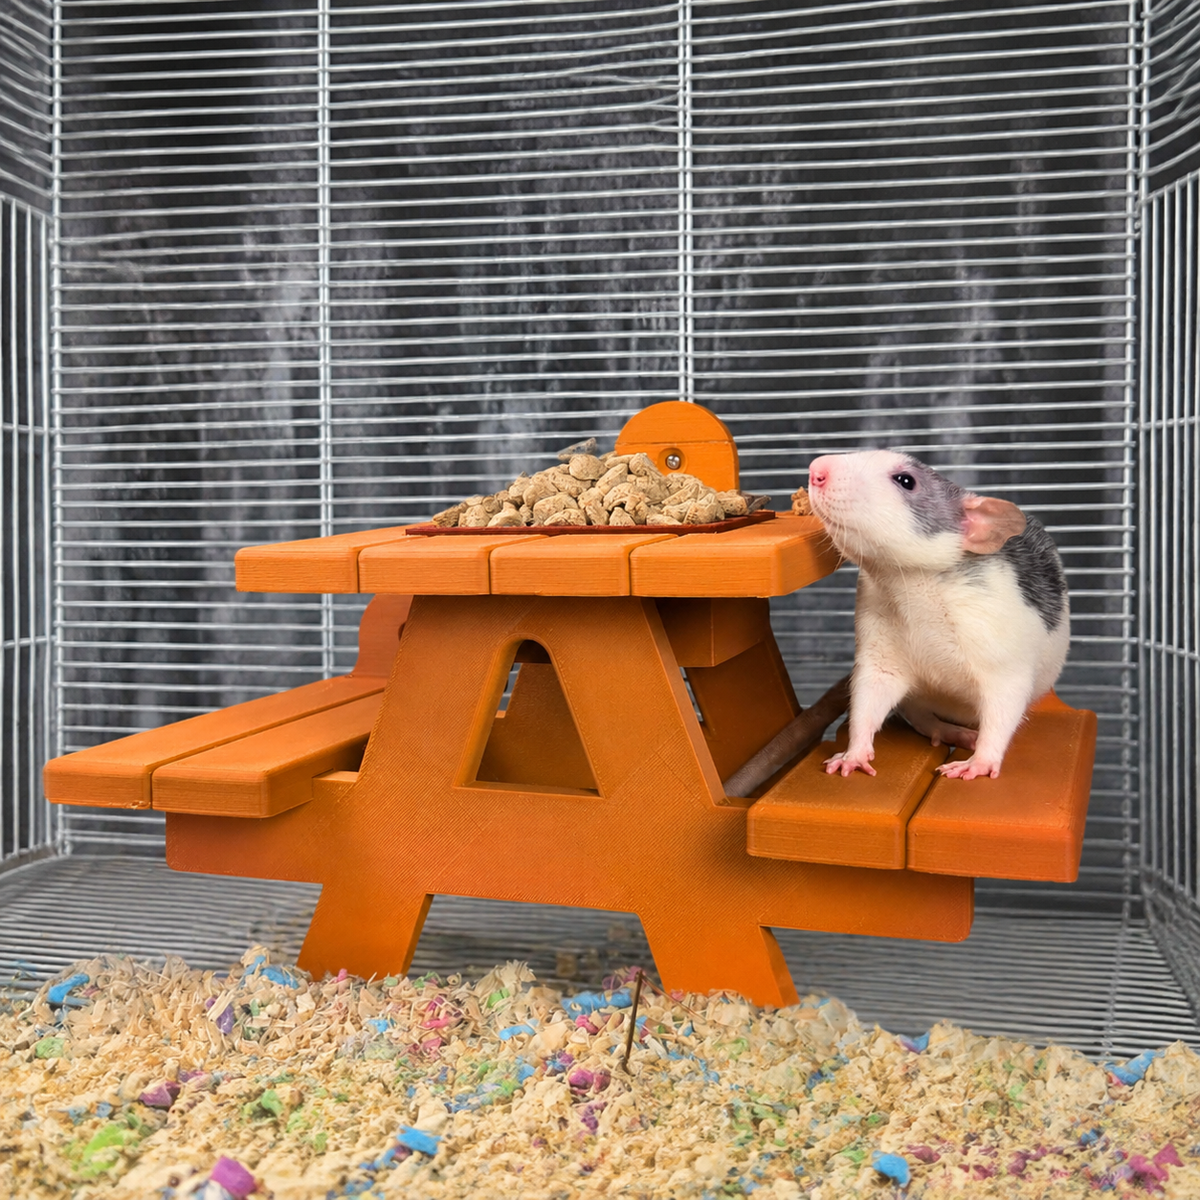
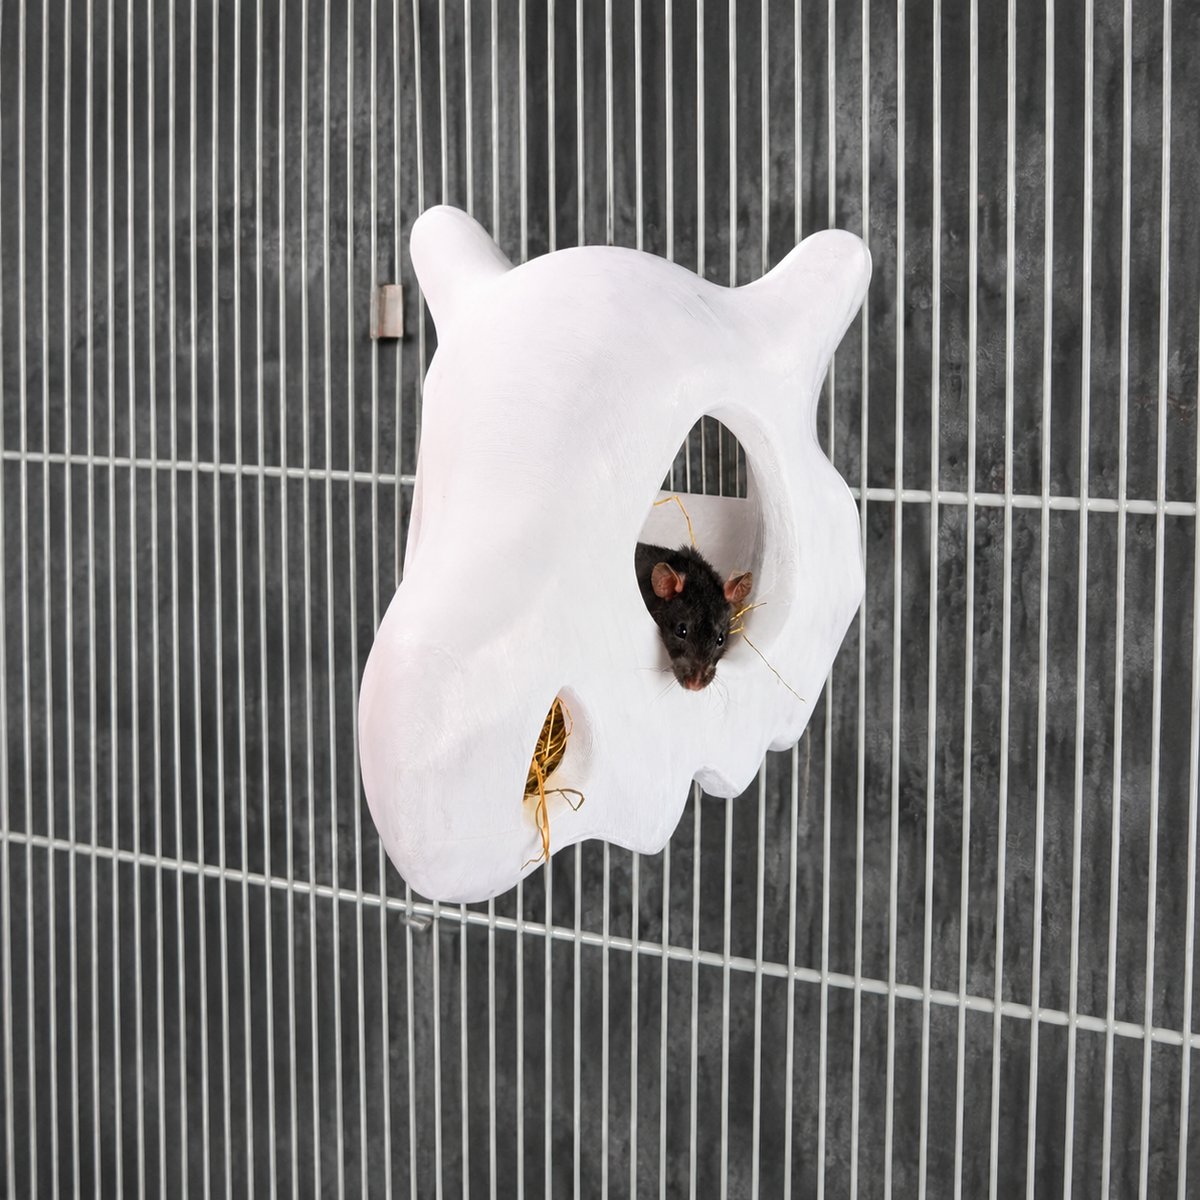

Turn the routine into a simpler cage setup
If this cleaning guide helped you spot what is awkward in the cage, use the setup guides next. A clearer hide, shelf route, food point or foraging piece can make daily care easier to keep on top of.
New to Ripleys Nest? Join the list for 10% off your first order.